
Cervical Screening: What to Expect and Why It Matters

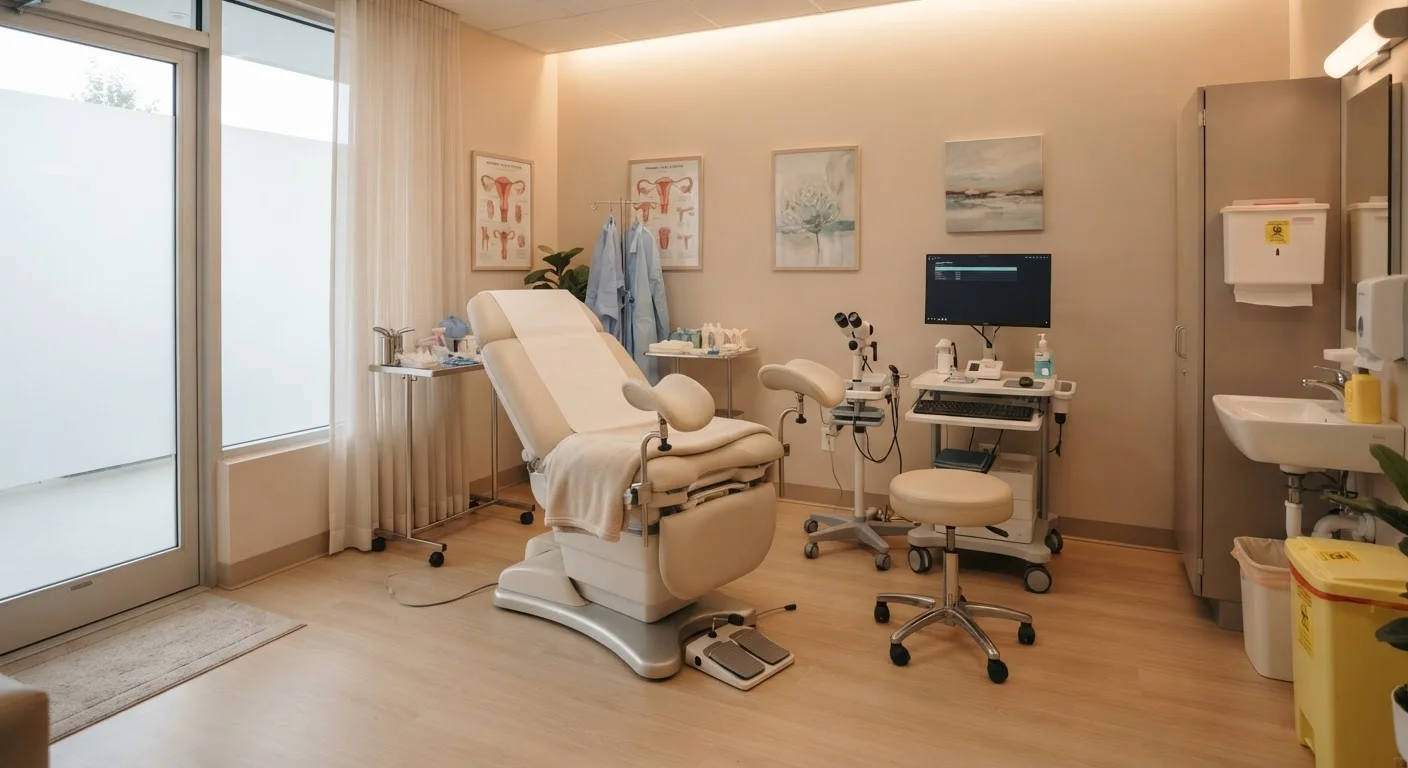
Photo: FeaturingHealth.net | Healthy Living Simplified editorial
Key Takeaways
- Cervical screening detects abnormal cell changes before they develop into cervical cancer.
- The procedure typically takes only a few minutes and is performed by a trained clinician.
- Most guidelines recommend screening begin at age 21, with intervals depending on age and results.
- Abnormal results do not mean cancer — most indicate minor cell changes that resolve on their own.
- Attending every recommended screening appointment significantly reduces cervical cancer risk.
What Cervical Screening Is and Who It Is For
Cervical screening — sometimes called a Pap smear or Pap test — is a routine preventive procedure that checks for abnormal changes in the cells of the cervix, the lower, narrow end of the uterus that opens into the vagina. The goal is not to diagnose cancer but to detect cellular changes early, when they are most treatable. As part of the broader landscape of routine health screenings, cervical screening is among the most evidence-supported interventions available for women's reproductive health.
Current guidelines from major clinical organizations in the United States generally recommend that cervical screening begin at age 21, regardless of sexual history. From 21 to 29, a Pap test alone is typically recommended every three years. From 30 to 65, the preferred approach is co-testing — a Pap test combined with an HPV (human papillomavirus) test — every five years, though a Pap test alone every three years remains an acceptable alternative. Guidance may differ based on individual health history, so discuss your personal schedule with your provider. For a broader view of age-based recommendations, see our lifelong screening calendar.
What you will need
Before, During, and After the Procedure
Understanding the physical steps of cervical screening removes much of the uncertainty that drives avoidance. The procedure is performed in a clinical setting — a doctor's office, OB-GYN clinic, or community health center — and takes approximately five to ten minutes from start to finish, with the actual sample collection lasting only seconds.
Timing Your Appointment Wisely
Speculum
A medical instrument used to gently open the vaginal walls so the clinician can view and access the cervix.
Cervical brush or spatula
A small, soft brush or spatula used to collect a cell sample from the surface of the cervix.
Sample collection vial
Preserves the collected cervical cells in liquid medium for laboratory analysis (used in liquid-based cytology).
Prepare for your appointment
In the days before your appointment, avoid scheduling it during your period if possible. Do not use vaginal creams, medications, or lubricants in the 24 hours prior, as these can interfere with the cell sample. Wear comfortable clothing — you will need to undress from the waist down.
Check in and discuss your health history
When you arrive, your clinician or a nurse will ask about your last screening date, any prior abnormal results, current symptoms, and your menstrual cycle. Be honest and thorough — this context helps ensure the most accurate assessment. Mention any discomfort during previous screenings so adjustments can be made.
Position yourself on the examination table
You will be asked to lie on your back with your knees bent and feet placed in footrests (stirrups). A drape is provided for privacy. Take slow, deep breaths to help relax your pelvic muscles — tension can make insertion of the speculum more uncomfortable.
Speculum insertion and cervical visualization
The clinician gently inserts a lubricated speculum into the vagina and opens it slightly to expose the cervix. You may feel pressure or a stretching sensation. The entire process of visualizing the cervix typically takes under a minute. Communicate if you experience sharp pain — the clinician can adjust the speculum size or angle.
Cell sample collection
Using a small brush or spatula, the clinician sweeps cells from the cervix — specifically from the transformation zone, the area where most abnormal cell changes begin. The sample is then placed in a liquid vial (liquid-based cytology) or spread on a glass slide and sent to a laboratory. The collection step takes only seconds and may cause a brief cramping sensation.
Receive and understand your results
Results are typically returned within one to three weeks, depending on the laboratory and healthcare system. Results are reported as normal (negative), unsatisfactory (sample inadequate, repeat needed), or abnormal — which may include low-grade or high-grade cell changes. An abnormal result is not a diagnosis of cancer; it indicates that follow-up, such as repeat screening or a colposcopy examination, may be needed.
This Is Not Medical Advice
Understanding Your Results and Next Steps
An abnormal cervical screening result is more common than many people realize and, in the majority of cases, does not mean cancer is present. Low-grade abnormalities — often described as ASCUS (atypical squamous cells of undetermined significance) or LSIL (low-grade squamous intraepithelial lesion) — frequently resolve without intervention, particularly in younger individuals. High-grade changes (HSIL) are less common but warrant prompt follow-up, typically via colposcopy, a more detailed examination of the cervix.
HPV co-testing results add further nuance: a positive HPV result alongside normal cell findings may prompt more frequent surveillance rather than immediate treatment. Your clinician will explain the specific pathway recommended for your results. For broader context on how this fits within screenings recommended specifically for women, including breast and bone density checks, that resource offers a helpful overview.
Do Not Skip Screening Due to Anxiety
If you are overdue for screening or have concerns about pelvic health more broadly, consider pairing your screening visit with a discussion about pelvic floor health, which can affect several aspects of reproductive wellbeing. And to get the most from any preventive visit, see our guidance on making the most of a preventive health visit.
This article is for informational purposes only and does not constitute medical advice. Please consult a qualified healthcare professional regarding your personal screening schedule, symptoms, or any results you receive.
The content on this site is for informational purposes only and is not a substitute for professional advice. Always consult a qualified professional for guidance specific to your situation.